
Without spending any money. Or much money anyway.
These tips are as cost-free as possible. Some may just be enough to see you through for a while until you can afford to replace things properly but they are all well worth a go.
1. Clean it!
Not just a cursory sprinkle with a hosepipe. Give your bike a proper bucket and sponge clean. Take the wheels out. Turn it upside down (take care not to scratch or damage your shifters) to get at all those neglected spots. It will the rest of these steps much quicker and more effective.
2. Headset
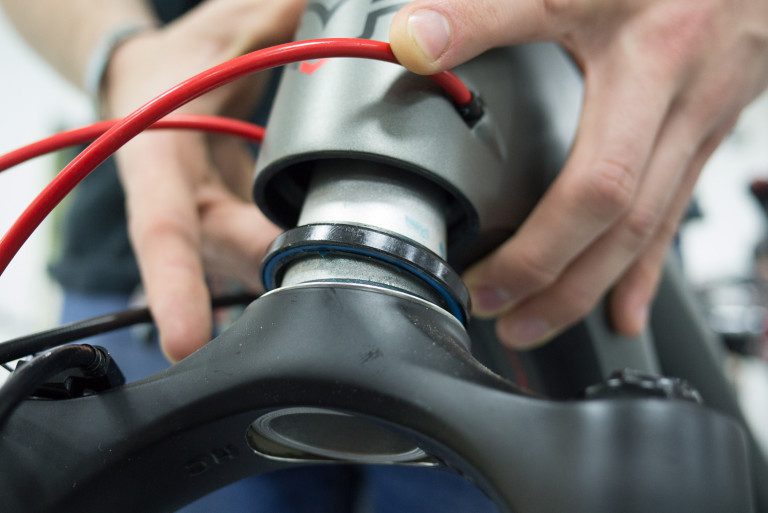
Thankfully these days any half-decent bike uses cartridge bearings in the headset (as opposed to old skool loose/cage bearings) so giving your headset a clean-out and re-grease is very simple.
Take the stem and headset spacers off. Pull the fork out of the frame (take care not to get all your cables twisted up).
Pull the cartridge bearings out of each end of the frame’s head tube. Give everything a clean out with a rag. Clean the cartridge bearings. Put a light coating of grease on everything you’ve just cleaned. Put your bike back together.
3. Bottom bracket
You can’t really clean out the bearings (they’re sealed into cups) but it is still worth cleaning out the bottom bracket and crank general area.
Remove your chainset from your frame – it will probably only require some Allen keys and a soft hammer. Clean out the frame’s bottom bracket shell and cups. Clean the chainset’s axle and cup interface area. While the chainset’s out of the bike it’s a good opportunity to give the back of the chainrings a proper clean.
Give the chainset axle and everything in the bottom bracket a light coating of grease and reassemble.
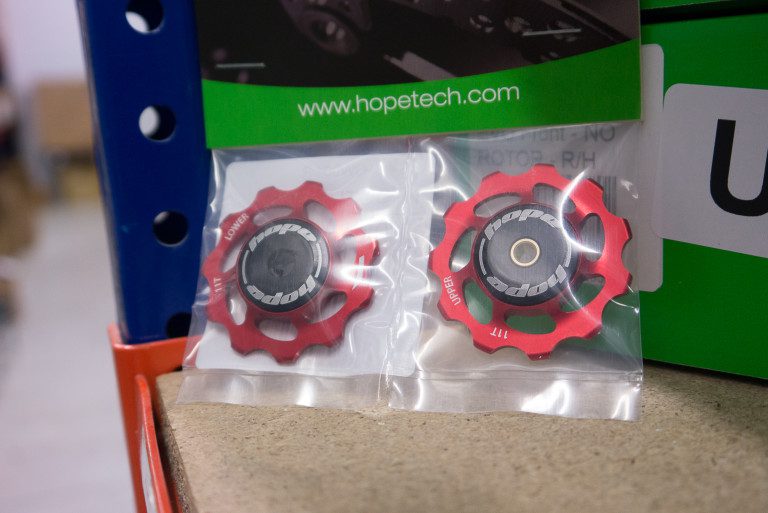
4. Jockey wheels
Best done with the chain off (see below) and the rear wheel removed from the bike.
Take the jockeys wheels out of the rear mech. Do one jockey wheel at a time. Take care not to drop them. Remember which way all the bits go. Clean everything. Put it back together. Your drivetrain will feel much less rumbly.
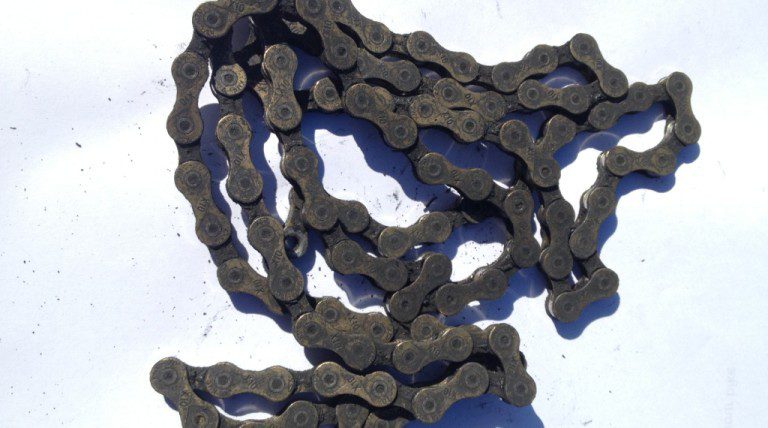
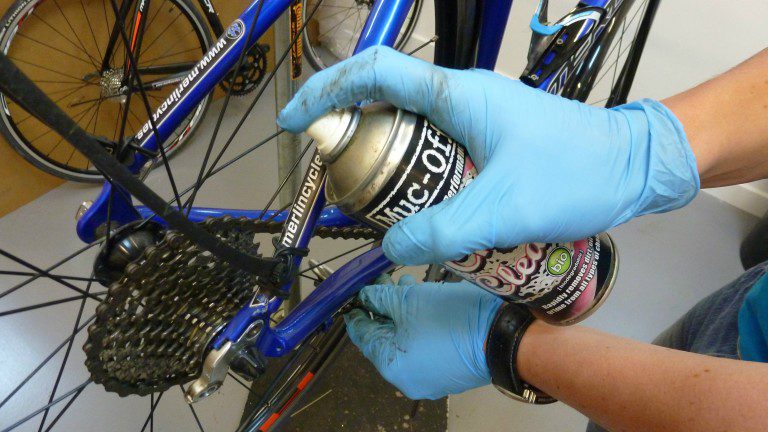
5. Chain
If you haven’t a chain cleaning tool – or your chain cleaning tool just isn’t up to the job – then split your chain and remove it from the bike. Find an old water bottle and half fill it with a mix of water and degreaser. Drop the chain into the bottle, pop the lid back on and ‘cocktail shake’ it for a couple of minutes.
Remove the chain from the bottle, dry it off a bit and let it properly dry out somewhere for a while before putting it back on your bike and re-lubing it.
And while your chain’s off…

6. Cassette
This is probably more aimed at mountain bikers really. Go and nab an old blunt knife from the kitchen drawer and use it to clear out the gaps between the cassette sprockets.
7. Cables
New inners and outer cables is the best solution but we don’t always have the time, money or inclination for that do we? The quickest trick is to remove the inner cable from the outer and flush through some light propellant lube.
It’s not a permanent fix but it often just gives you a few more rides before you have to finally take the plunge and get whole new cables.
8. Seatpost
Grit in your seat tube and/or in the seat post clamp is a common cause of annoying creaks and clicks.
Take your seat post out. Clean out the seat tube. Clean the seat post. Lightly grease the seat post before re-inserting. DON’T GREASE ANYTHING THOUGH IF THE FRAME OR POST IS CARBON. Use carbon assembly paste if you want to use something in there.
Take your saddle off the seat post. Clean out the seat post clamp. Clean the underside of the saddle and the saddle rails. No need to grease anything. Put it all back together.
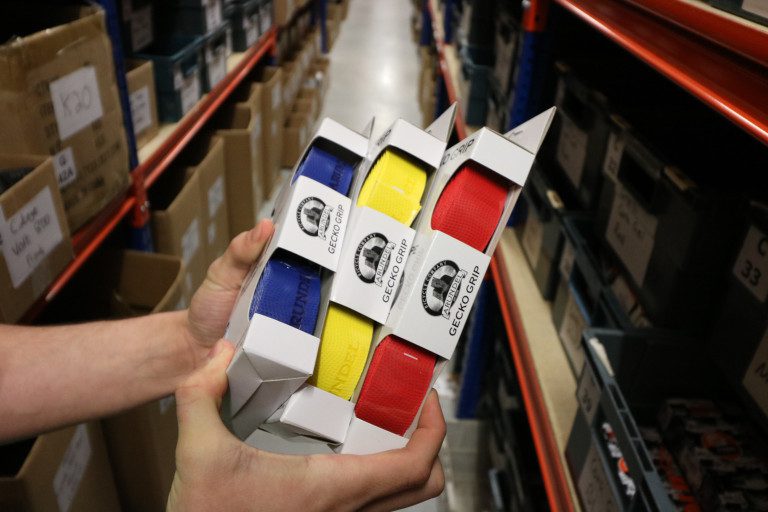
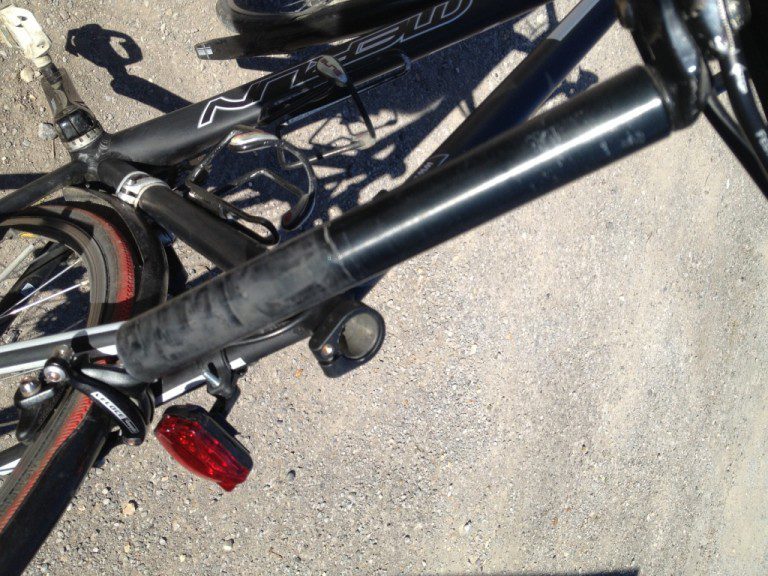
9. Bar tape or grips
Just give ’em a proper scrub. Seriously. Get some good cleaner on there and scour them. You’ll be amazed at the results. They’ll look better. They’ll grip better.
10. Disc rotors
Best cleaned with the rotors removed from the wheels if you can be bothered.
If you have some disc brake cleaner use that. If you don’t, you can use some alcohol wipes or something like meths. Use kitchen towel to clean the rotors. Clean a quarter of a rotor at a time, using a fresh piece of kitchen towel each time.
Give them a few minutes for the cleaner/meths to evaporate away fully before re-installing and riding anywhere.

11. Spray polish
If you want to avoid your bike looking all patchy, worn and dull then get hold of some shine spray.
Try not to get it too near your brakes. You only need to use it on your frame’s main tubes anyway really (down tube, top tube and seat tube).
Spray it on lightly, give your tubes a rub with a clean cloth and you’ll end up with a bike that looks amazingly ‘showroom fresh’ again.
It does also help to keep filth from adhering so tenaciously next time your frame gets ridden in muck ie. your next ride. Thus your next cleaning session wouldn’t so arduous either. It also makes your bike SMELL new. Win win win.
Shop for cleaning products at Merlin Cycles
Shop for bike lube products at Merlin Cycles
Shop for workshop tools at Merlin Cycles
It is good advice especially for anyone who neglects their bike, personally I don’t but you did remind me it is about due time i cleaned and re-greased my bottom bracket and headset again
I do this on a rainy day but in its bee a long dry spell here in Brisbane.
But thinking of upgrading to an 11 gear setup at Easter.
It is not something you can do right now, but next time you change those cables think about fitting some cable oilers, middleburn sell some lovely little ones, it adds very little cost to a set of decent cables, means you can get away with using all of those little chunks of outer you have lying around, and makes continuous lubing of those cables a doddle
Sound advice & all so easy. Headset is coming off later today! Nice tip on taking the jockey wheels off one at a time too
For those who have never done these before, it is not easy to understand what you have explained. But with some pictures or better short videos , all these would make more sens and easier to follow.
Good suggestion. I d like to see a video on cleaning bikes