
What’s the difference between all the disc pads? Which ones should you get for your bike and your type of riding?
There are a lot of different variables with disc brake pads, for Road, Gravel, E-Bike and MTB. Not only do you have to get the correctly shaped disc pad that fits your particular brake caliper, but you also have to choose what sort of compound you want the pad to be made of.
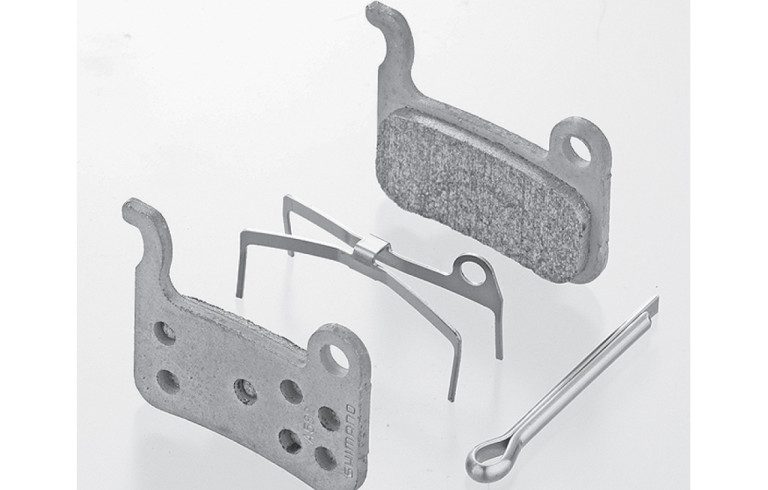
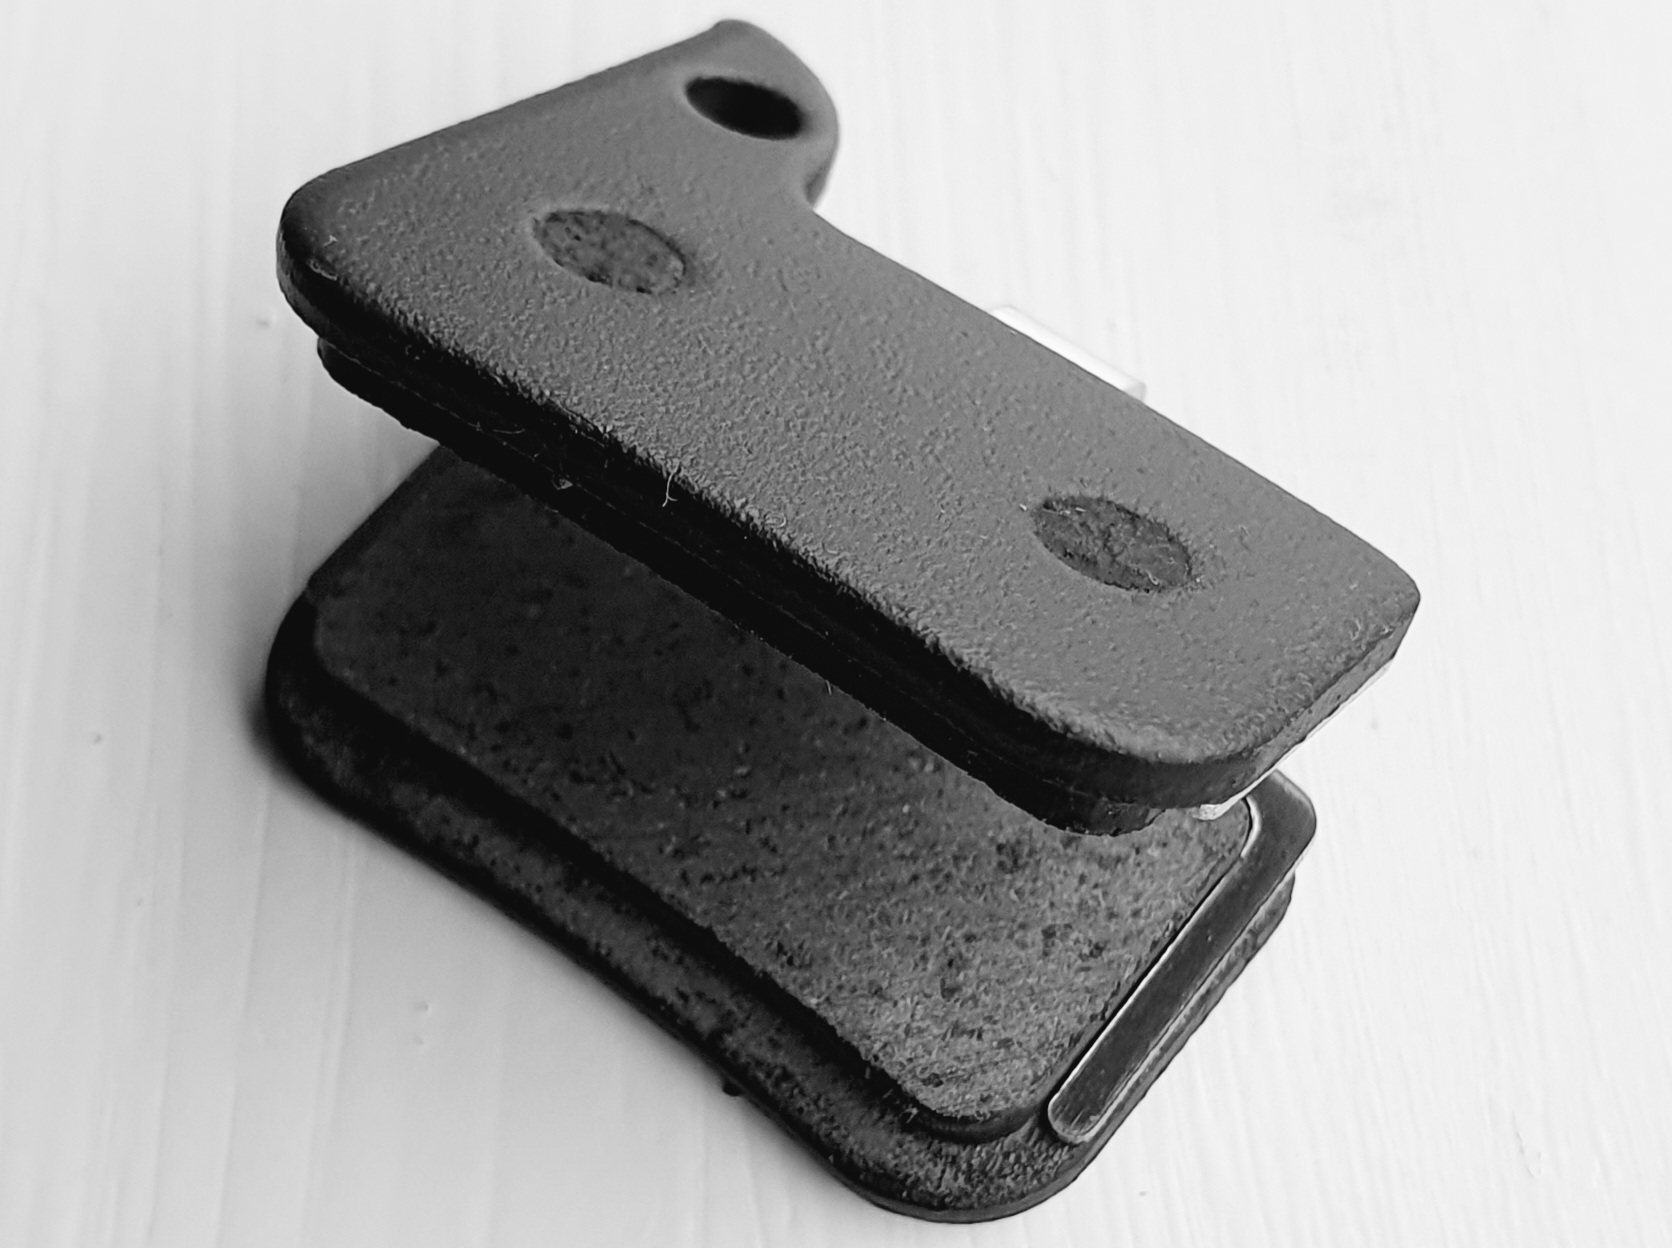
Shape
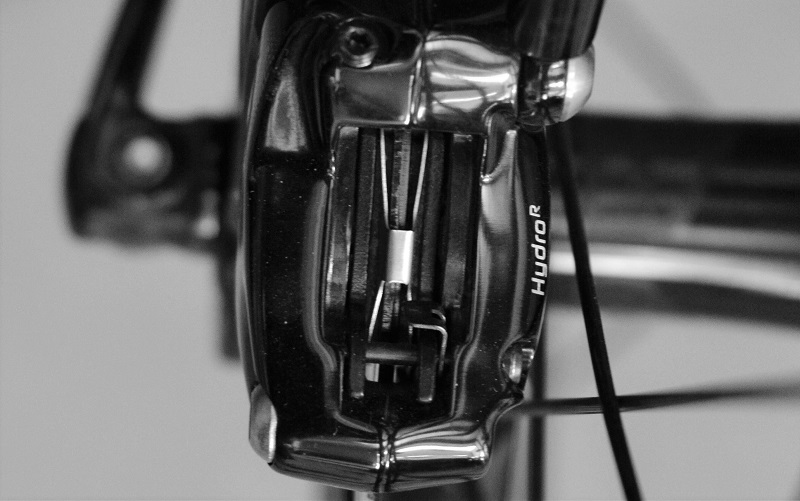
Different brake calipers have different shapes and different methods of holding the pads in place. Thankfully getting the correct shaped pad is pretty obvious.
Look at what your brake is called (it’s usually written on the lever reservoir and/or the caliper body) and then find a disc pad of the same name. If the model names don’t quite match or are incomplete, take your exisiing pads out and double-check the shape of them compared to the potential replacement pads’ shape.
Compound
This is where it gets confusing. Fundamentally there are three types of brake pad compound, although some manufacturers confuse things by using new buzzwords or sound-alike terminology.
The three fundamental compound types are: sintered, organic and semi-metal.
Sintered pads are sometimes called “metal” or “metallic”. Organic pads are sometimes called “resin”.
Each of these three compounds has their own benefits and disadvantages. Their is no perfect brake pad for every rider or type of riding.
Pros and cons to each compound
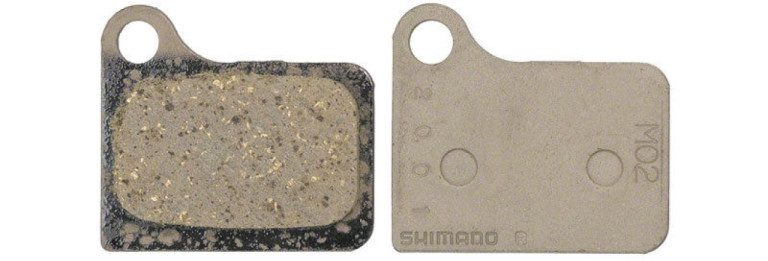
You can’t really tell what compound a pad is just by looking at it (well, unless you’re a real pad geek anyway!) so you’ll need to check the product description or packaging carefully for information.
Sintered pros
- They last the longest.
- The pad material can withstand very high temperatures.
- They don’t glaze over.
- They have lots of power at the ultimate top-end power (sustained high speed DH stuff).
Sintered cons
- They take ages to bed in.
- High temperatures can cause mineral oil systems to fade on very long sustained descents.
- They lack initial bite feel.
- Can be noisy.
Organic pros
- Quick to bed in.
- Very good initial bite feel and modulation.
- Less noisy.
- They don’t pass as much heat into mineral oil systems.
Organic cons
- Not as long lasting as sintered, especially in wet conditions.
- Less power at the ultimate top-end power (sustained high speed DH stuff).
- Can glaze over.
Semi-metal pros
- Most of the best bits of sintered and organic compounds. They’re basically organic pads with sintered stuff added to them.
- Good ultimate top-end power.
- Decent bite feel and modulation.
- Good durability.
Semi-metal cons
- Can glaze over.
- Not all semi-metal compounds are the same ie. different brands will have different sintered-to-organic mix ratios.
- Usually a bit more expensive.
Which sort should you buy?
It depends.
One thing we would say is that you don’t have to run the same pad compound in both your brakes.
A lot of experienced MTB riders run a sintered pad in the rear brake and an organic pad up front. The rear brake requires less power and feel so it makes sense to prioritise durability. The rear caliper also seems to get more filth flung through it so a harder-wearing sintered pad makes sense. The organic pad in the front brake offers good power and feel, where it is needed most. The trade-off in durability is well worth for most riders.
If you want an easy life and only want to buy (and carry) one sort of pad, then go for semi-metal pads. Tempting as sintered pads are – due to their durability – the reality is that they lack power up front and take far too long to bed in.
Going to the Alps?
This is when it might be a good idea to run a sintered pad in your front brake – or at least pack one in your kit bag in case your organic pads can’t handle the sustained onslaught.
De-glazing pads
Check your pads have actually run out of pad material. Sometimes they may just be glazed over and feeling like a spent pad. Glazed pads can be brought back to life with a bit of sandpaper or light filing.

Push the pistons before putting new pads in
Before inserting your new pads make sure you re-position your caliper pistons fully back in the caliper. Ideally use a plastic tyre lever to push. If you only have a flat blade screwdriver (or similar) then make you sure you keep your expired pads in the caliper whilst pushing the piston back, this is to protect your pistons from being damaged.
It’s a good idea to try to do this task with your bike upright ie. don’t turn your bike upside down, as it may introduce air into the system if you’re not careful.
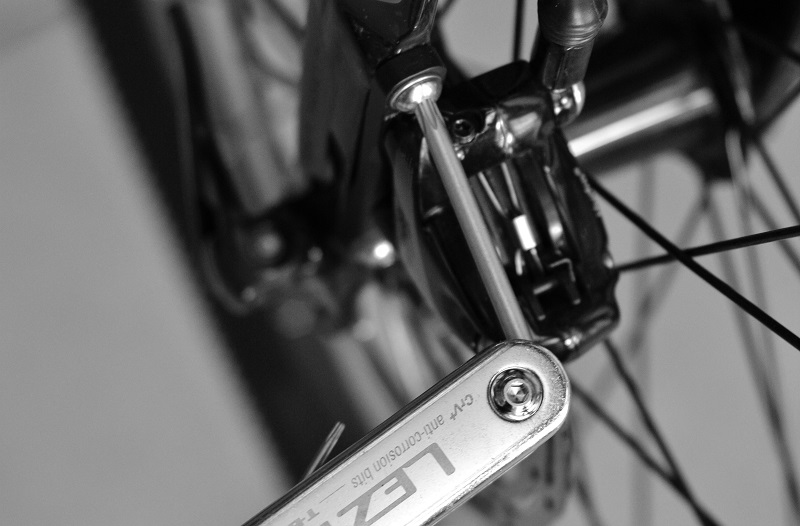
Check your caliper alignment
With your expired old pads removed it’s a good time to check the alignment of your brake caliper. Poorly aligned calipers cause weak braking, noisy braking and can constantly rub-off speed. If the rotor isn’t positioned bang in the middle of caliper mouth, take a few seconds to undo it and re-align the caliper before inserting your new pads. Double check the rotor is not touching the pads when the pads are installed. If they are, just loosen the mounting bolts (below), apply the brake while re-tightening the mounting bolts.
Bedding in disc brake pads
If possible take some time to bed your brake pads in properly. This may not be possible if you’re changing pads mid-ride but if you’re at home or in the car park before a ride then a proper bedding in will reap dividends.
Bedding in disc brake pads basically involves riding fast sprints around somewhere flat and smooth and hauling your brakes on hard. Do this a lot – at least a dozen times. Try not to come to a dead halt before releasing the brakes (as this can leave a build-up ‘lip’ of material on the rotor that will take a while to get rid of).
It sounds faffy and a bit silly, but bedding in your pads will extend their lifespan – a lot.
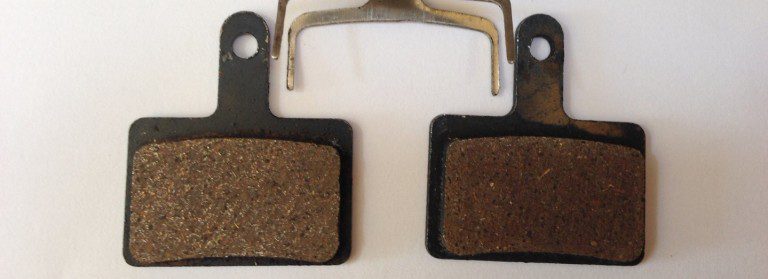
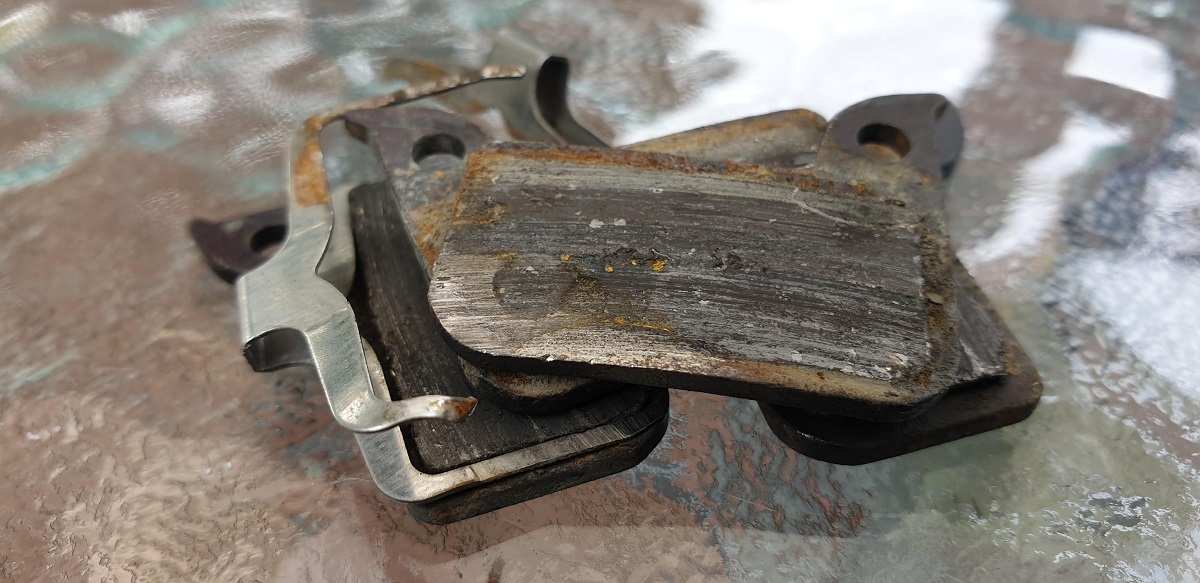
When do they need Replacing?
Depending on how much use they get and in what conditions they are used, brake pads will wear down and need replacing. It’s good to visually check pad wear while maintaining / cleaning your bike. If you can hear metal on metal scraping under braking, you have left it a little too late (below).
So, which Pads does your bike need?
MTB – Check out our range of Mountain Bike disc brake pads here.
Road / Gravel – Check out our range of Road / Gravel Bike disc brake pads here.
E-Bike – Check out our range of E-Bike disc brake pads here.
We also stock a wide range of Rotors and other Disc Brake spares and bleed kits
Nice blog for brake pads. All point cover in brake pads and really appreciate.
Really helpful article, thanks.
Excellent tutorial was very informative. Thank you
Really helpful!
Really Helpful