
Give your rubber a quick once over MOT. Check the tread. Check the sidewalls, Check the pressure, Here’s our quick tick list of how to do it.
Now that the good weather is here and we’re all hopefully riding our bikes more, it’s essential to check your tyres regularly for any signs of wear and tear as a puncture or damaged tyre can quickly end a ride. Here are a few things to look out for when checking your tyres.
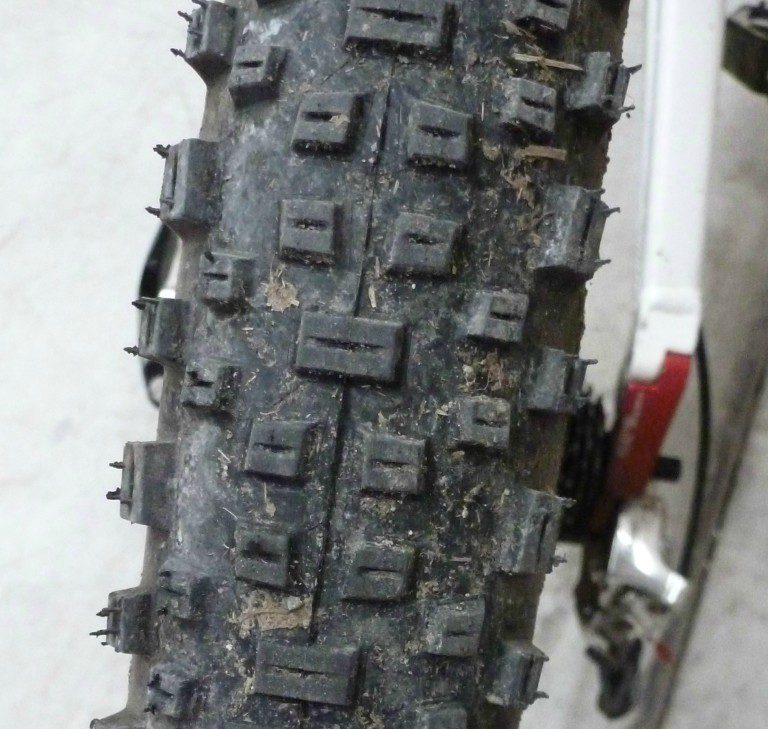
Tread
The most obvious place to spot damage is by examining the tread. This is the most likely place for anything to penetrate the tyre so make sure there is nothing embedded in it that hasn’t gone through yet.
Tiny pieces of glass, stones or thorns can work their way onto the tread without puncturing until pressure is put on the tyre. Remove any debris and assess the carcass before using again.
Check for cuts and nicks to the surface and if there are any bald spots or carcass showing then replace it immediately, trust us we’ve seen people riding blissfully unaware with the rubber worn through!
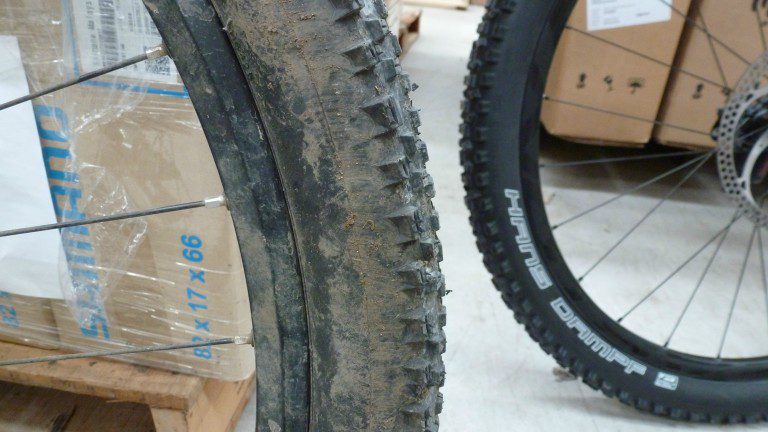
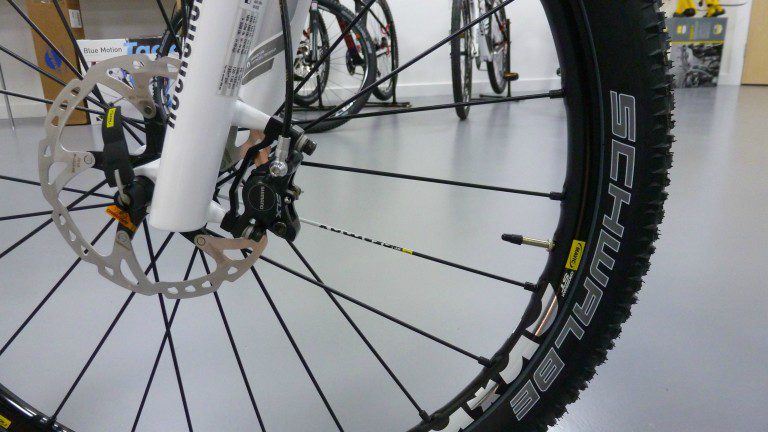
Sidewalls
The sidewalls are the least protected section of the tyre and prone to cracking and damage especially if the tyre is old or under inflated. This is an obvious area to save weight so unless you have gone for a more durable tyre, the sidewalls will be quite flimsy.
Any cuts or bulges means the tyre should be replaced as the increase in pressure when riding can force the tube through them. Similarly if the tyre is under inflated then a weakened sidewall will fail as the weight of the rider will cause the tyre to deform and more likely to have a pinch puncture from the rim.
When inspecting the sidewalls it’s also worth checking that the brake blocks are hitting the rim correctly when applied as if set too high they will rub against the sidewall of the tyre damaging it.
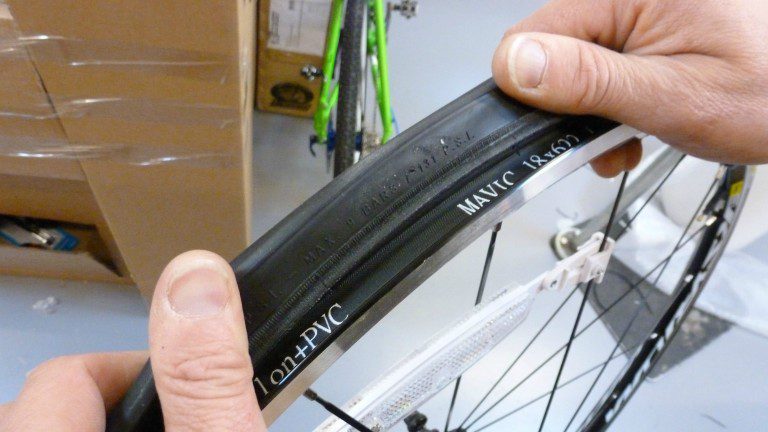
Bead
Make sure the tyre is positioned correctly on the rim. For road tubular tyres (all in one tyre and tube combination) this means that the tyre should be glued or taped on and even with the rim the whole way round.
For clincher tyres (tyres which use a tube) make sure the seating bead is under the lip of the rim and not showing –easily identifiable as there will be a large upward bulge. You may have to take the tyre off to check this but any major faults will be easily identifiable while the tyre is in place.
For tubeless tyres, check that the tyre is even on the rim the whole way round and that there is no sealant leaking from anywhere.
If you do take the tyre off there are a few checks you should also make:
Check the inside surface of the tyre for any weaknesses, debris or sharp objects which have penetrated the carcass, usually done with the fingers which make finding sharps easy but sore!
Check the rim edges for damage and dents which can affect the tyre placement and security.
Check the rim tape is not damaged and even all the way round the rim, you don’t want any punctures from the spoke or valve holes.
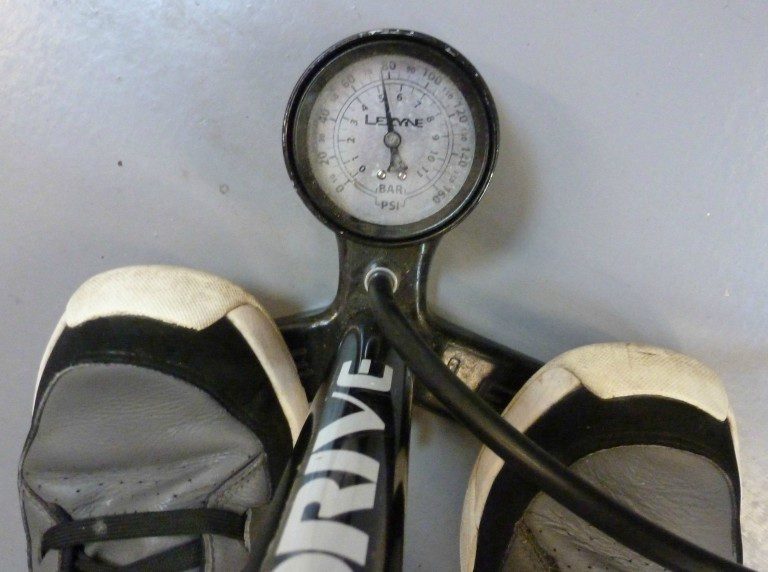
Tyre pressure
Most importantly, make sure tyre pressure is correct. An incorrectly inflated tyre can have a greater affect on comfort and control than first appears. An under inflated tyre is less efficient as it takes more energy to propel the bike due to the greater surface area of the tyre.
It also increases the chance of puncturing and worse still affects handling as the tyre deforms around the rim. Vice versa, an over inflated tyre creates a greater risk of a blow out or the tyre not gripping enough.
Valves
If you do need to change your tube, make sure you have the correct valve length. Modern bike rims are available in a wide range of depths and there’s nothing worse than replacing a tube only to find the valve is not long enough to attach a pump to. Also make sure the valve is at 90 degrees to the rim as incorrect fitting can damage the tube.
And finally on the subject of valves; when installing the tyre back on the rim, a tip is to leave the last bit of tyre to push on near the valve as you can push the valve up to provide a bit more space for the last piece to sit on the rim.