The all new Merlin Malt G1X is available as a full bike or as a frameset. If your ‘Go Anywhere’ sense of adventure is matched by a mechanical sense of adventure, read on for tips on building the frameset into your dream gravel bike…
You’ve Been Framed
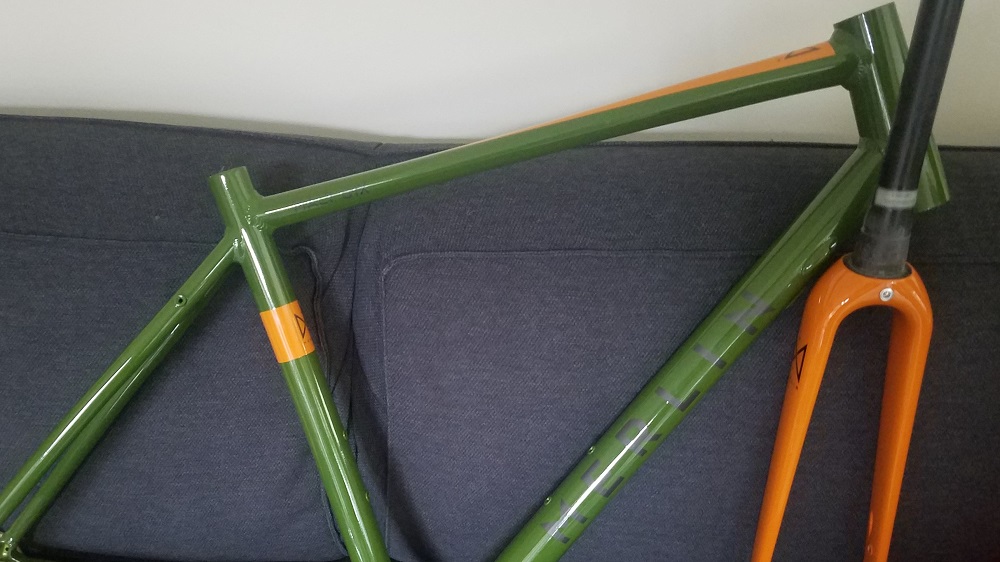
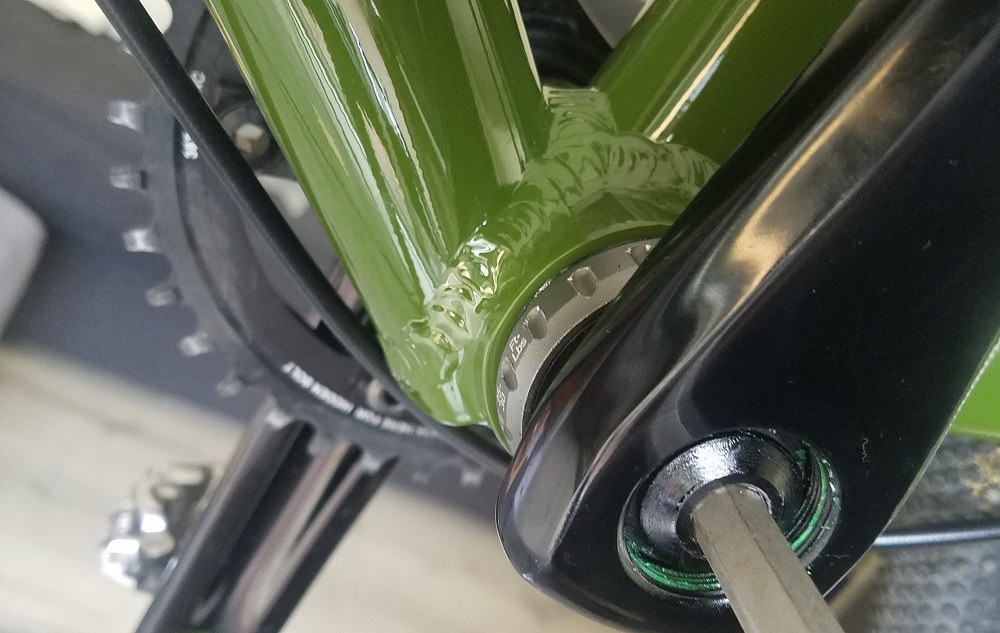
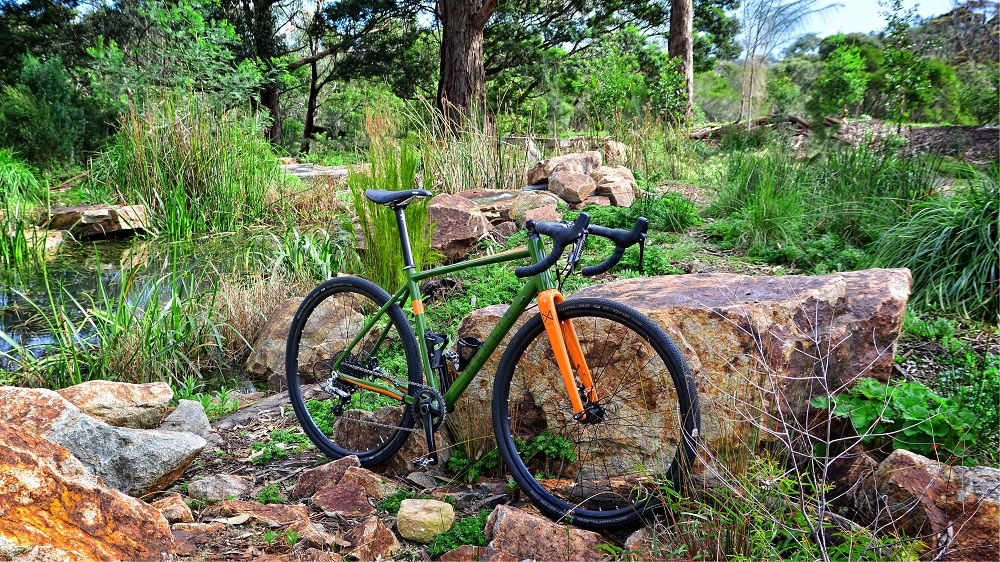
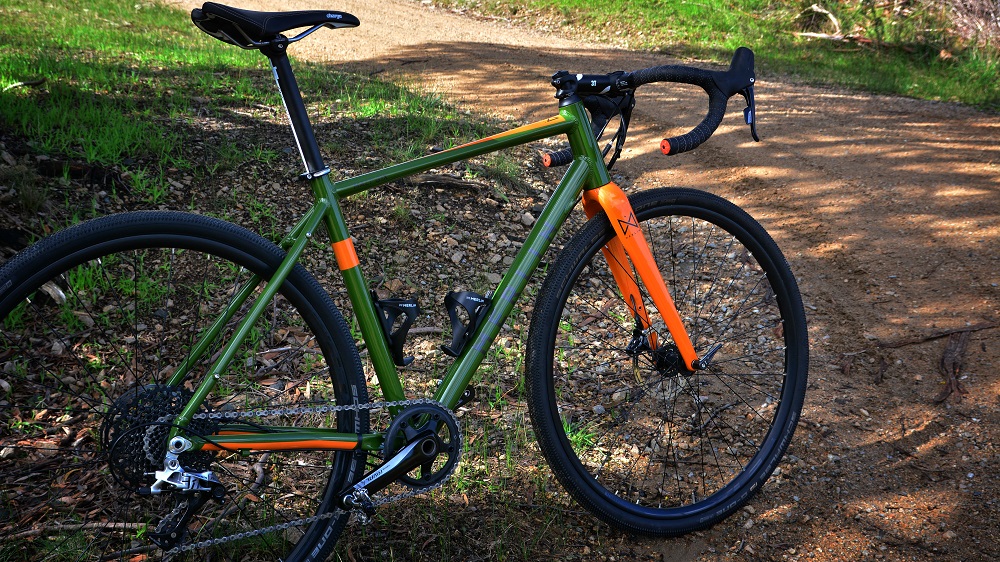
When the new G1X framesets arrived into stock at Merlin HQ, I was keen to build one up and get out on the trails. It features triple butted 6061 aluminium tubing, 12mm thru axles, internal cabling and a sweet paint job. The G1X frame tubes are joined with ‘industrial’ looking welds that look like they mean business. That said, the frame and fork are relatively light for a tough, go-anywhere frameset. The 50cm frame weighed in at just under 1.7 Kg and 450 grams for the uncut fork. The full carbon fork features a beefy looking 1.5 inch lower race, tapering into a 1″ 1/8 stearer.
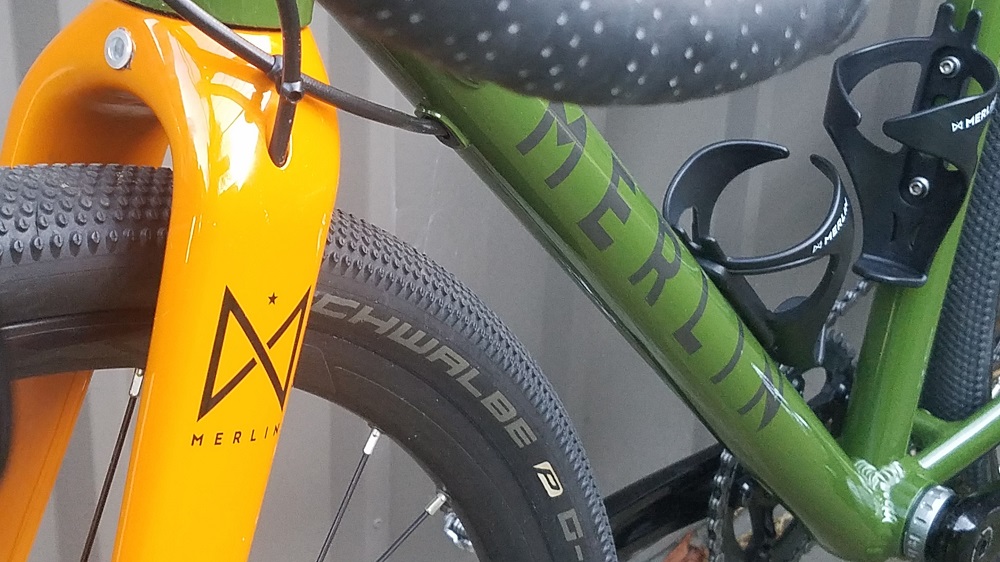
The frame comes with a lot of flexibility built in. There are eyelets for mudguards and racks too, in case you are tempted to load-up and head off into the sunset. There is also routing for a front gear if you would rather go for a double chainring. Schwalbe G Ones (40mm) have 9mm of clearance each side – at their nearest point to the rear chainstays. The frameset can also be run with 650b wheels.
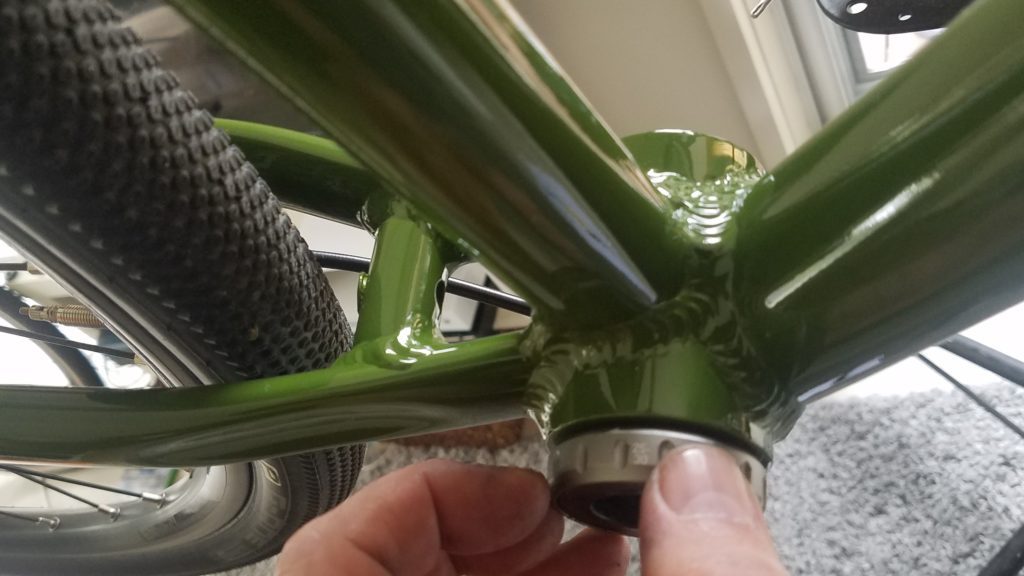
The box of parts , which came with the frame, included all the little things you will need for the build (12mm Thru Axles, Headset, hose guides, spacers, stem topcap).
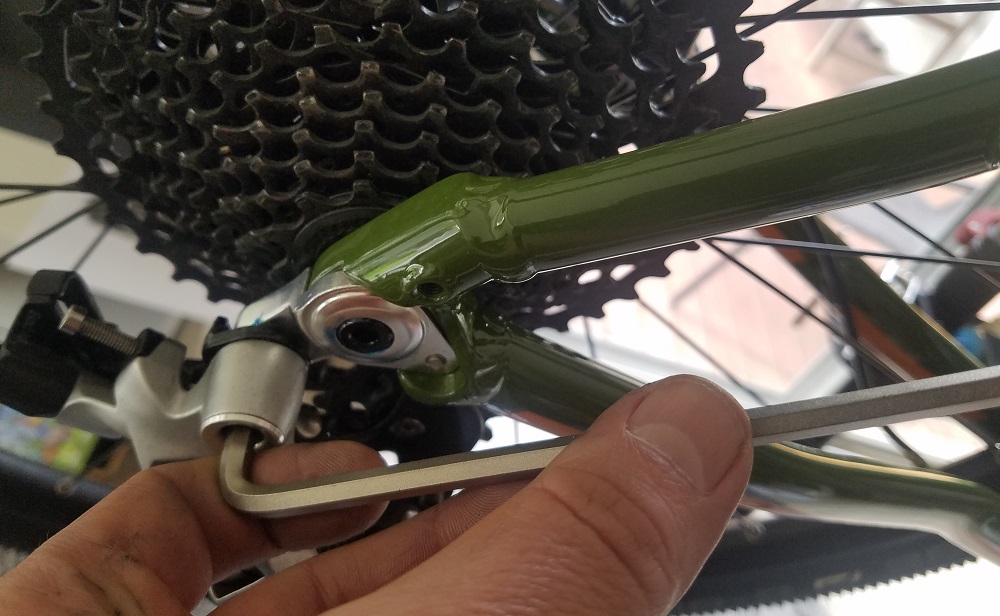
The Build
I built the Malt G1X up with Sram Rival 1x parts. Everything fitted easily and I even remembered a little dab of grease on the threads to make life easier in the future for taking it apart.
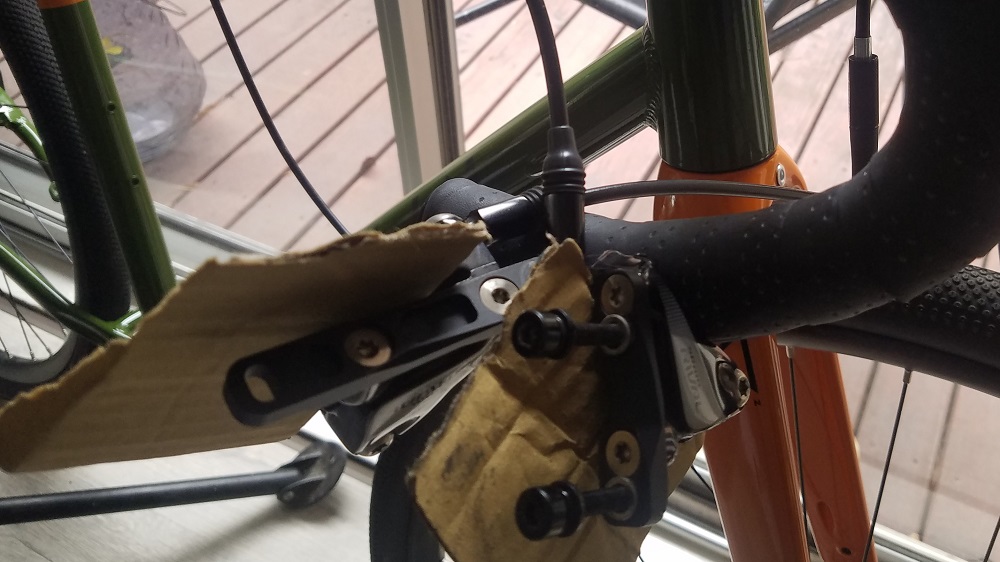
Disc Jockey
The only slightly tricky bit of the build was cutting the hydraulic hoses and re-connecting the hoses after routing through the frame. This was only ‘tricky’ because I hadn’t done it before and I was keen to get it right. The actual routing is very straight forward both on the fork and through the downtube. Having got some olives & barbs ready and some tools on hand, I pulled on protective gloves and glasses to avoid potential contact with the nasty DOT 5.1 fluid. Before tackling the brake hoses, in the interests of ongoing marital harmony, I also moved the workstand and bike out to the garage…
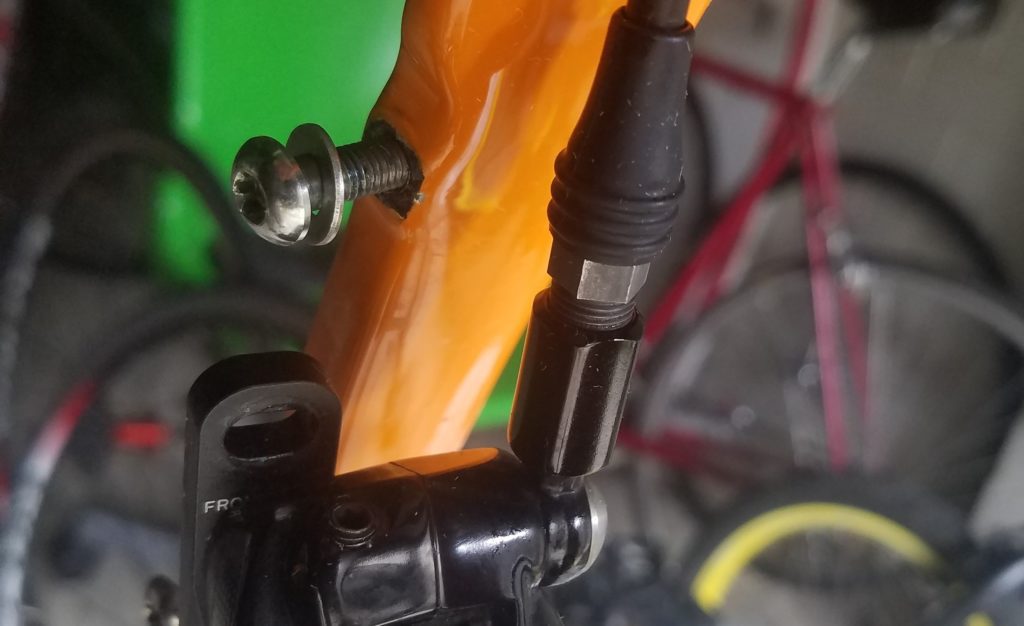
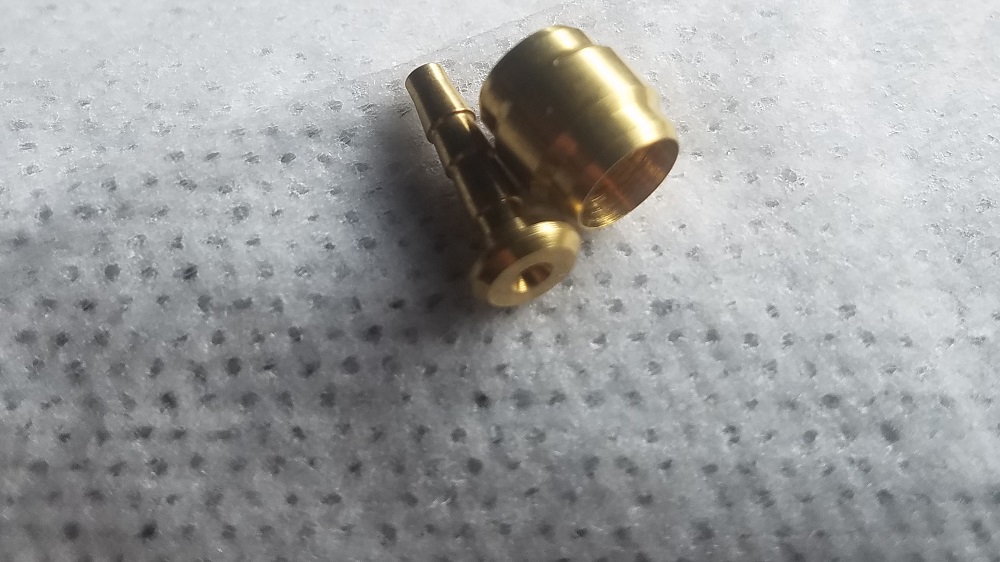
Anyone for Olives?
If you are cutting reconnecting cable on your own, it’s worth double checking that you have all the necessary tools easily at hand. You will also need a new connection screwed or pushed into the newly cut end – an olive and barb (below). Pushing the barb into the hose is easier if you open up the hose slightly before inserting. I also used a wide-jaw clamp to hold the hose without crushing, while I tapped the barb into the hose end. It is also worth covering over pads, rotors and a couple of cloths ready to wipe away any brake fluid.
Bleeding Brakes
The last step setting up the brakes was to bleed them. Bleeding involves getting any air out of the hydraulic hoses to make sure the braking performance is on point. SRAM use bleedport system which needs two fluid injectors to do it properly. Well worth checking out the SRAM video on Youtube for a step-by-step breakdown of how this should be done.

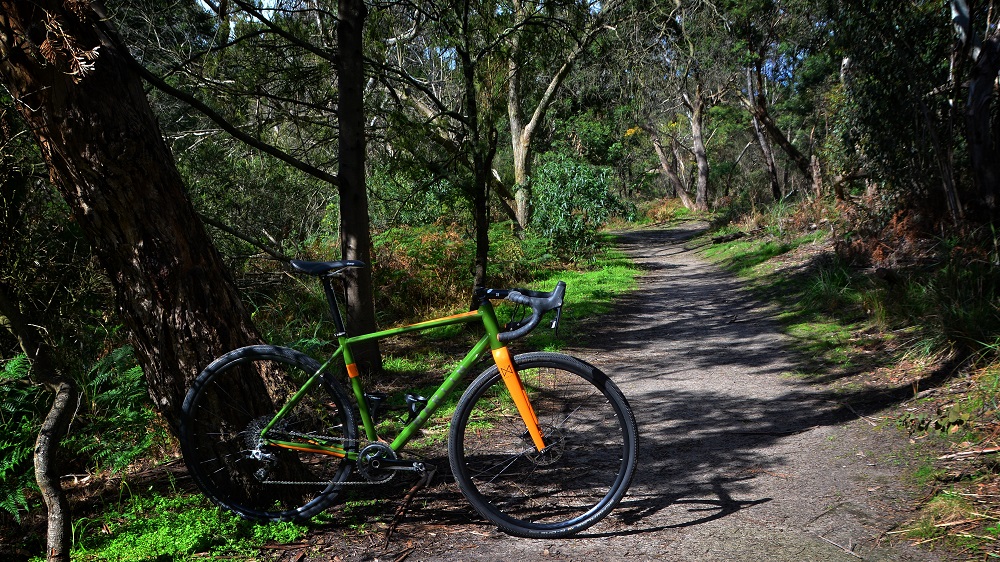
Building the G1X needed a little bit more thought and care than a non hydraulic braked bike. I am pleased with the end result and on my first quick ride around my local gravel tracks, it felt great. I am looking forward to hitting some bigger gravel trails soon. For further information on building your own bike, check out this earlier blog
If you are contemplating a bike build project, make sure you have the required tools – check out our wide range of high quality tools here.
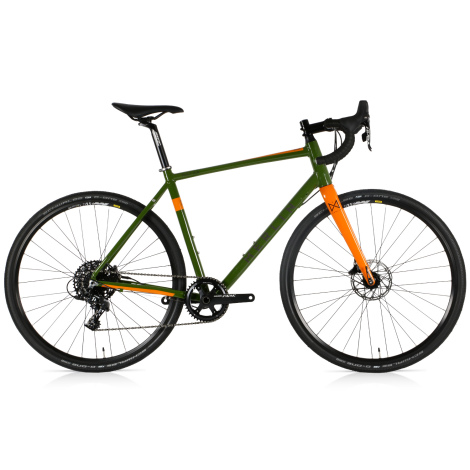
If building the frame from scratch seems a bit too much effort, the Malt G1X is available as a fully built 1X bike (below), full specification & details here.