Firstly, I will put my hand up. I admit it, I am old. I rode my first bike race before ‘Back to the Future’ was out at the Cinema. That old. Over this time I have heard of lots of ‘go faster’, ‘last longer’ type claims for all sorts of stuff related to bikes. I was sceptical about chain waxing.
I was so very wrong.
Wait now, What?
So when a local bike rider friend and YouTube bike-tech good-guy, Shane Miller mentioned over a coffee stop that his gravel bike chain showed no wear after 10,000 kilometres using Silca Hot Melt Wax, my ears pricked up. “Hang on Shane, How many kilometres…”
So I figured I would give it a go. There are a lot of online videos and guides to chain waxing, follow the broadly recommended process as I did, you can’t go wrong. I used a new (YBN) chain and (Shimano Ultegra) cassette, before getting started I thoroughly cleaned the chainring and jockey wheels to remove any trace of old lube or oily gunk.
Thr Process
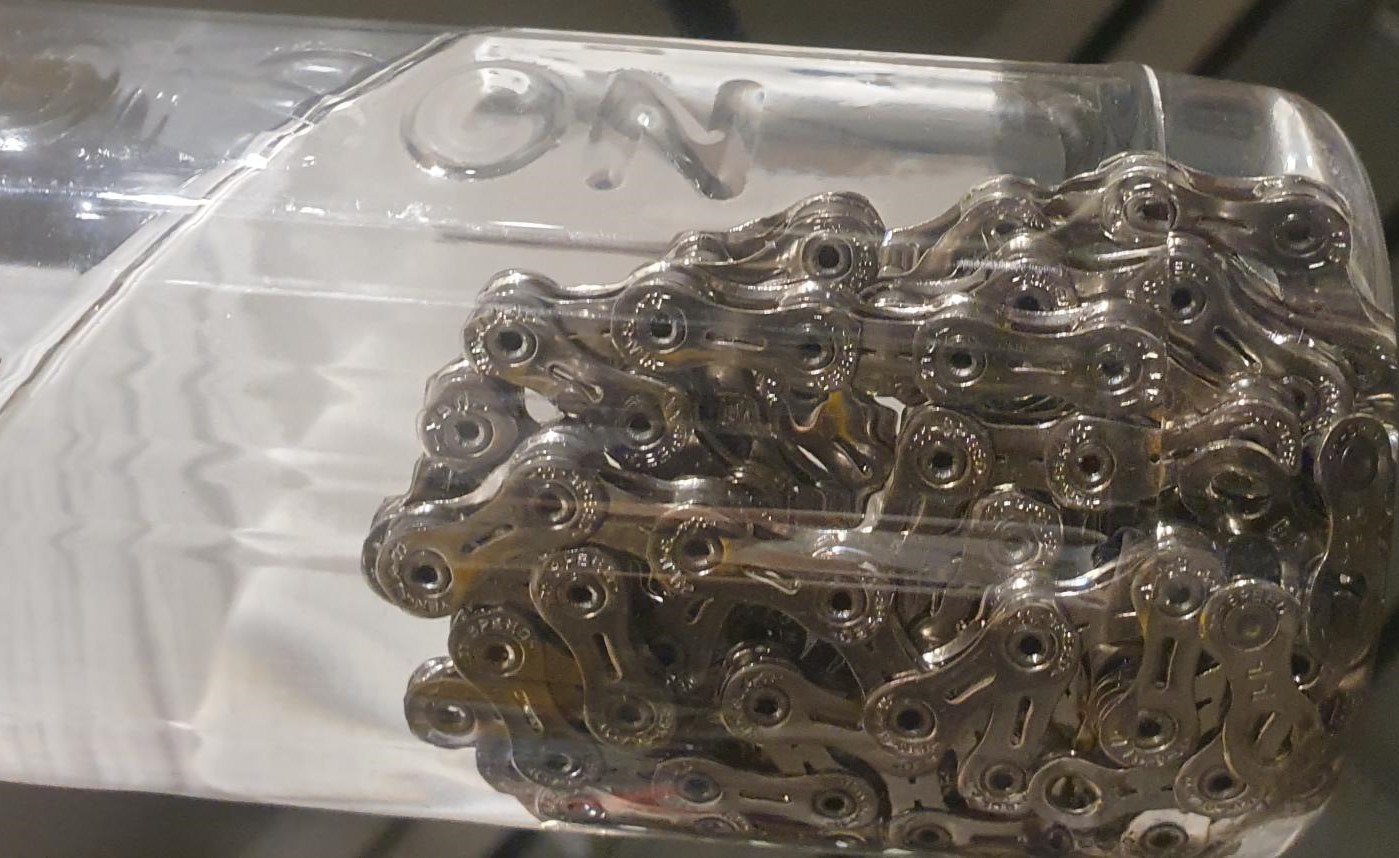
Before getting into the waxing there is a two part process to get the chain ready for the wax. Removing the manufacturers coating off the chain is a bit of a process in its self. I used Mineral Turpentine swishing the chain around in a sealed container for 10 minutes or so, and left it overnight (Above photo). I gave it another shake and tipped out the mineral turps before refilling with fresh mineral turpentine and left for another night. This should have removed the factory coating. Next I put the chain in a container of Methylated Spirit, swishing the chain around and left overnight to ensure there is no film left on the chain. Alternatively, Silca chain stripper & wax prep (below) is probably easier and quicker.

Blow Dry & Wax
Once out of the Methylated Spirit, I dried the chain off with a hair drier. I then melted the wax in a slow cooker. (At this point it’s probably worth considering that the slow cooker might not be used for non-waxy-tasting food ever again. You may need to be creative, explain to the family that the slow cooker was stolen or recalled by the manufacturer). I used a section of wire coat hanger to thread the chain through so that it was easier to handle and move around in the hot wax.
Do not splash the wax! It really hurts.
The Best Bit
Once the chain has cooled, it turns into a rigid block of chain, so each link needs snapping by wiggling between fingers. This is the best bit, it is very satisfying. Once each link is free it is time to fit the chain onto your immaculately clean drivetrain. Pedalling the chain around should result in bits of excess wax falling off the chain.
Just Stop Oiling
After rides, clean the bike as usual, but when you would usually degrease the chain and re-lubricate, just wipe the chain with a damp (water) cloth – notice there is no oil… That’s all you need to do!
Wax on, Wax off…
After you have waxed your chain, if you leave the cooled, solid wax in the slow cooker, re-waxing after 600 – 800 kilometres is pretty quick and easy. Just reheat the slow cooker, give the chain a soak in hot water to melt off the old wax and any dirt, dry it, place the chain back on the wire swisher tool and give it another soak and swish around in the hot wax. When it’s cool, snap each link free again and re-fit on you super-clean drivetrain.
Influenced
So yes, I got influenced by an influencer, but so far, I am hugely impressed. It’s very quiet (silent), ridiculously clean and seems to roll around the cassette and chainring pretty easily. Up until my switch to waxing, the last few years have seen my gravel rides getting through 3 chains and 1.5 cassettes per year and around 10,000 kilometres of gravel.
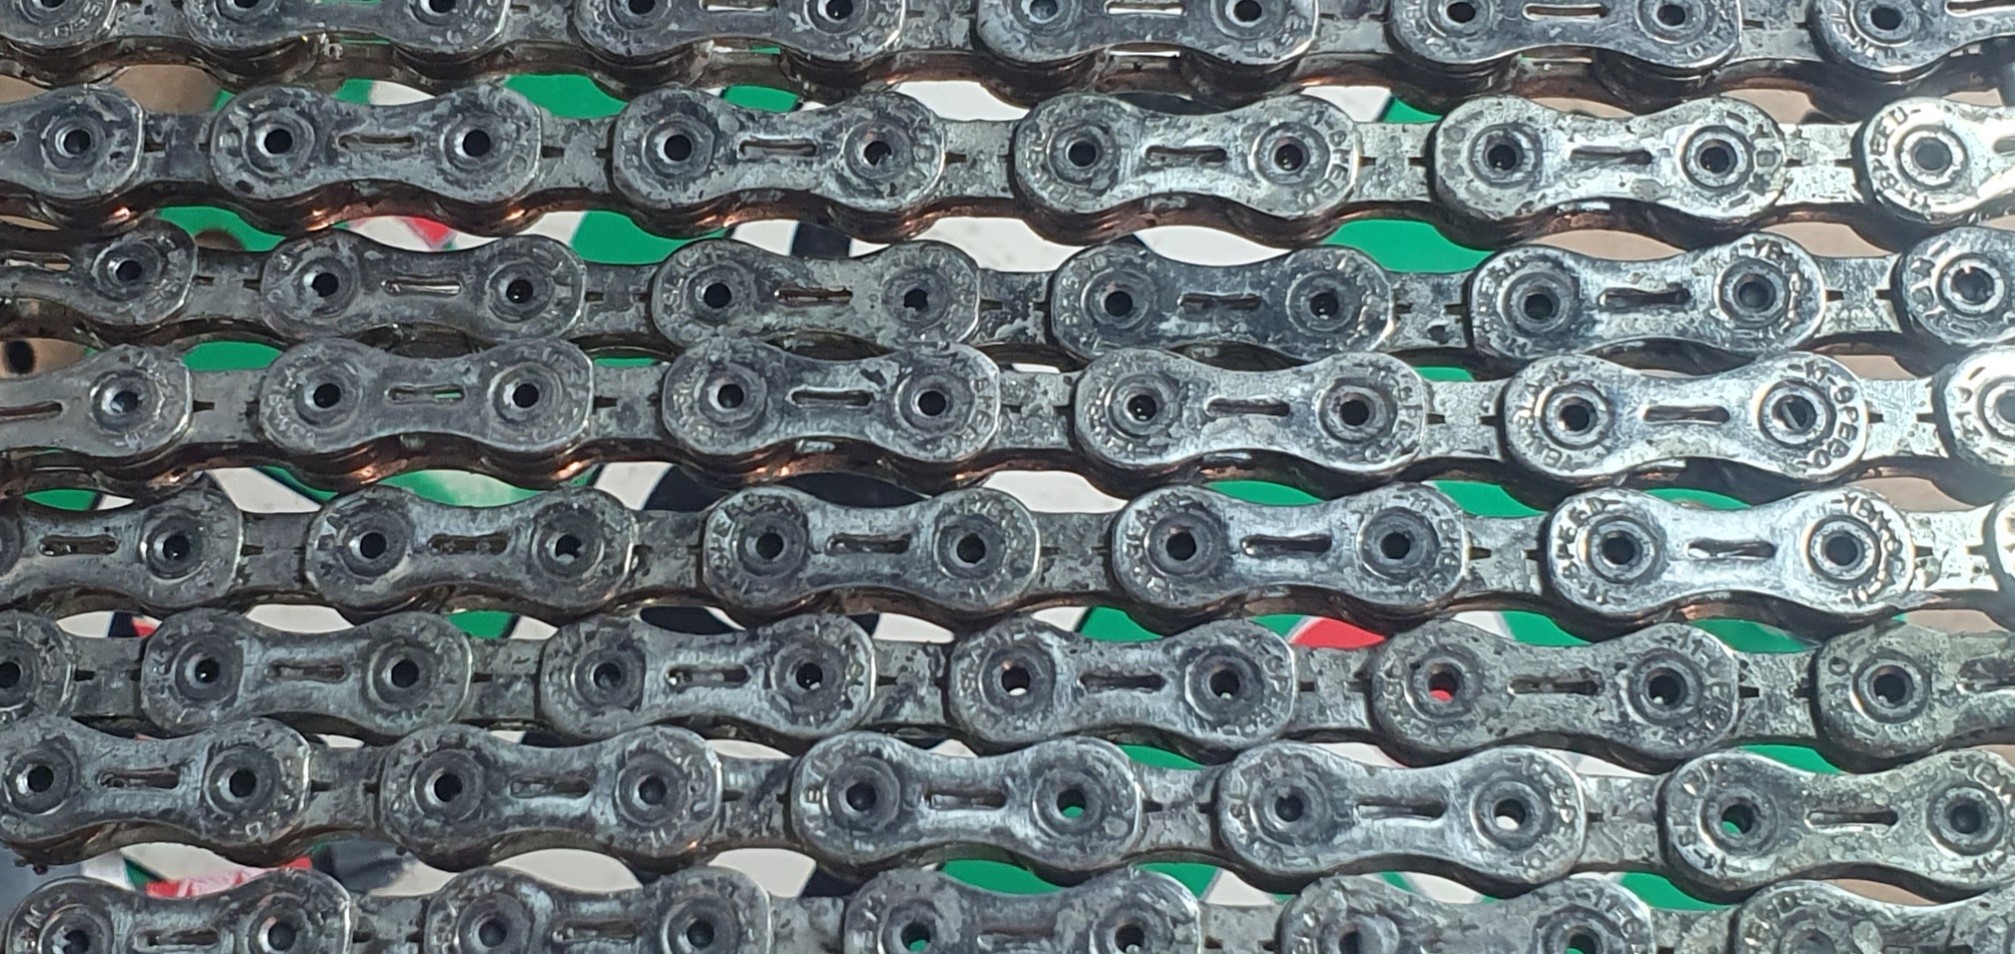
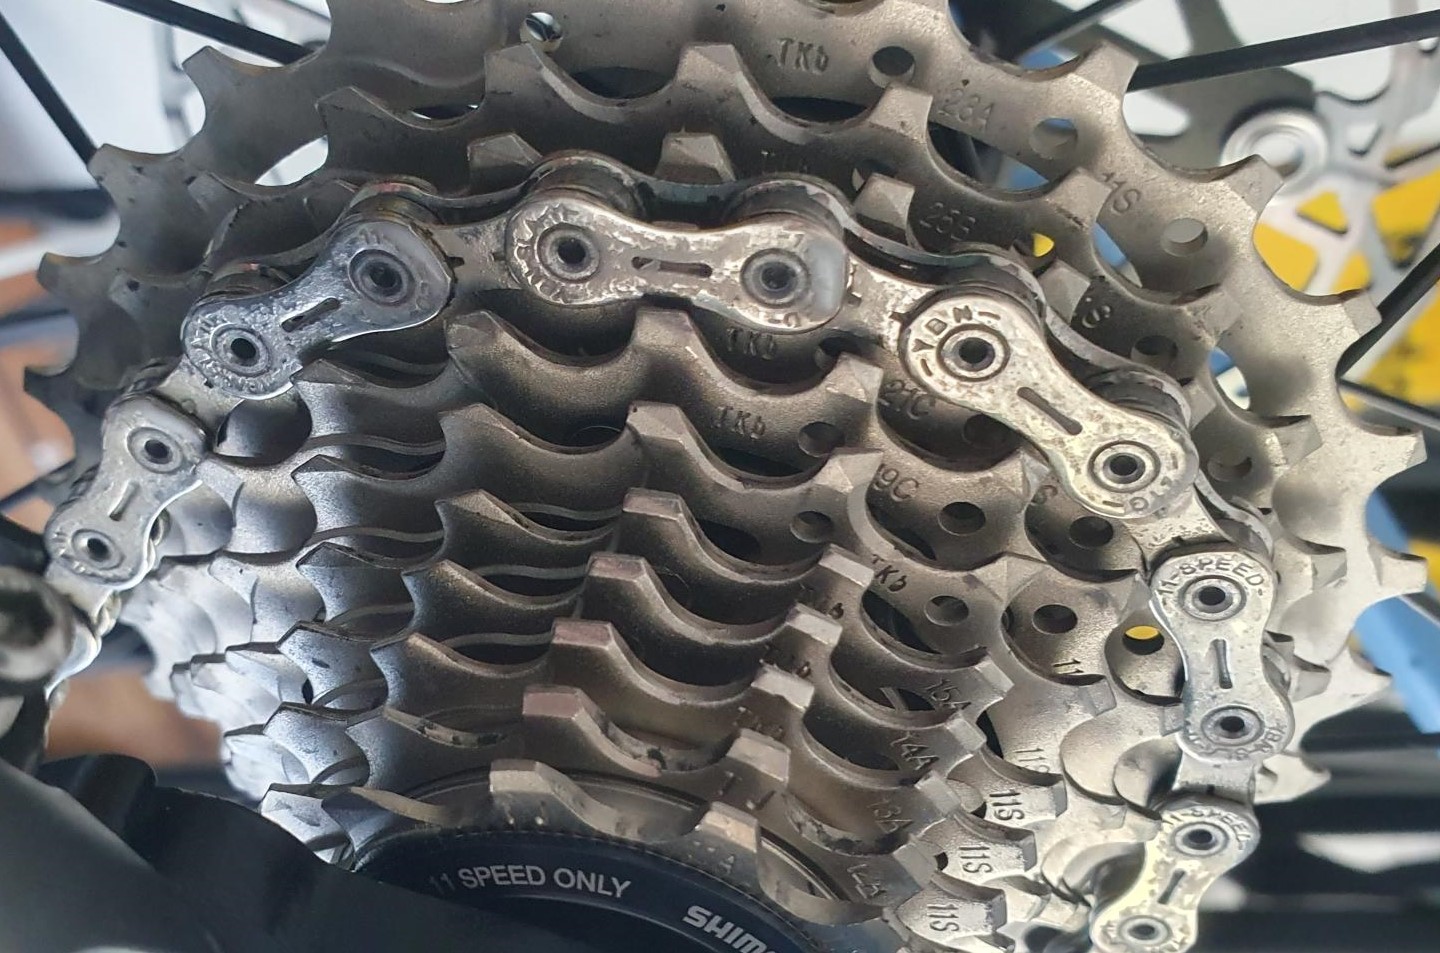
So after 4000 kilometres how’s it looking?
Without wanting to sound like one of those people on a TV shopping channel….To be honest it is pretty amazing.. It is clean! – Gravel dust used to turn a clean chain with fresh lube into grinding paste pretty quickly. The waxed chain, however, is barely showing any signs of wear, gravel dust just will not stick to it. The chain and cassette has stayed very quiet and looks as fresh as it did when it was fitted. Riding 1X on my usual route only uses 3 or 4 sprockets, so I will swap the front chainring to spread out wear a little more. At this stage I think 10,000 kilometres is looking very likely.
Ride Conditions
My usual ride conditions are dry on compacted gravel. If it was wet and muddy for most rides, online chain waxing guru’s recommend a thorough rinse with water to remove the dirt off after each ride.
Worth It?
While it might seem like a lot of effort, I reckon once it is set up, it is actually easier than constant cleaning, degreasing and lubrication. For me, so far, it seems well worth it, if only for the extra life from chains and cassettes. There are other benefits too, it is oh so quiet, super-clean and it probably saves a few watts. However, being a tight Yorkshireman, i’m fully hooked in for the savings, how long can this cassette and chain last…