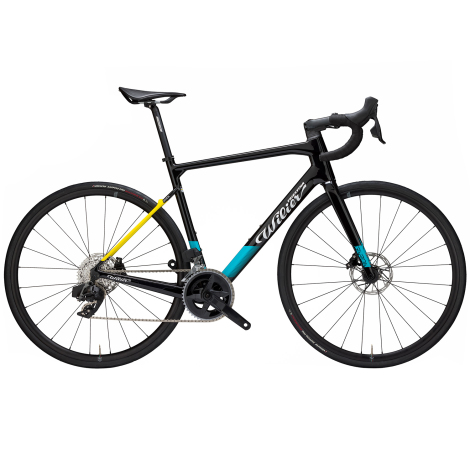
Maybe you’ve got hooked to Zwift, been out running or down the gym through the worst of the winter months? Follow our bike check guide to make sure your bike is ready and safe for spring rides on the open roads & trails.
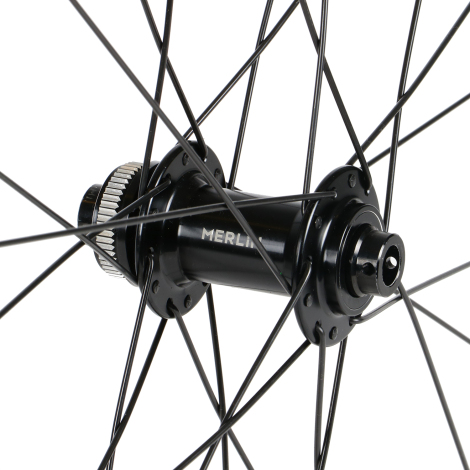
Wheels
A great place to start a bike check is the wheels. Check the quick release skewers, they should be palm tight. If your bike has thru axles / bolts, they should be tight. Wheels should sit in the centre of the forks / rear stays. If the wheel does not align with the middle of your forks / stays the quick release / bolts may not be in properly and will need re fitting. Lift the wheel off the floor and spin to check if your wheel rims are catching the brake blocks or with disc bikes, if your rotors are catching the pads. Need new wheels? Click here.
Tyres
Check the condition of each tyre and its tread. Look for any cuts / flints / glass embedded in the tyres. Most road bike tyres have a tread wear indicator. Look for small round dents in the tyre tread which are around 2 mm diameter. When these indicators go, it is time to replace your tyres. Check out our tyre selection here.
Spokes
Check spoke tension in each wheel, the tension should be even over all of the spokes and should flex slightly when you gently grab and attempt to squeeze two spokes together. Spin the wheel a little faster and check the wheel is true. Wheels should be true, or nearly true, both looking from the top and side (radially and laterally). The bearings should be smooth with no play, and the tyre should not bulge out from the rim. The rim should not catch on the brake pads as the wheels spin. Wheels can be trued using a spoke key, most good bike shops can do this service for a minimal cost. If your wheels have badly worn braking surfaces (Check the wear indicator on the rim) or are more severely out of alignment, it could be time to invest in some new wheels.
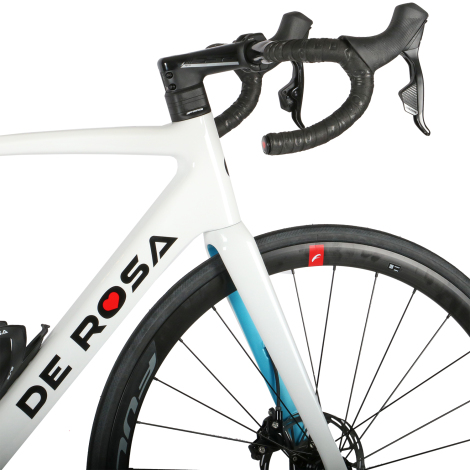
Cockpit
While stood at the side of the bike apply the front brake. Try to rock the bike forwards and backwards and feel for any play coming from the headset. You should not be able to feel any play. Squeeze the front wheel between your legs to support it and hold on to the bars. Try to move the bars from left to right. There should be no movement. Check for rotational movement in the bars and levers. The bars should not move under rotational pressure there should only be small amount movement of the levers. Ideally they should only rotate under excessive pressure to help stop them breaking in a crash. Bars should be symmetrical and have no visible damage such as cracks and dents. Finally ensure end plugs are in place.
Drivetrain
Kneeling at the side of the bike, grab the cranks. Rock the crank side to side to see if there is any play in the bearings. Hold the pedals and try to do the same. You should not feel any play in the bearings. Select a gear on the front and rear gears that gives a straight chain line from the front chainrings to the rear sprockets, then rotate the cranks backwards. The cranks should rotate freely and the chain should not skip and catch on the sprockets. Also check that the sprockets for any missing teeth and that they are not twisted or bent.
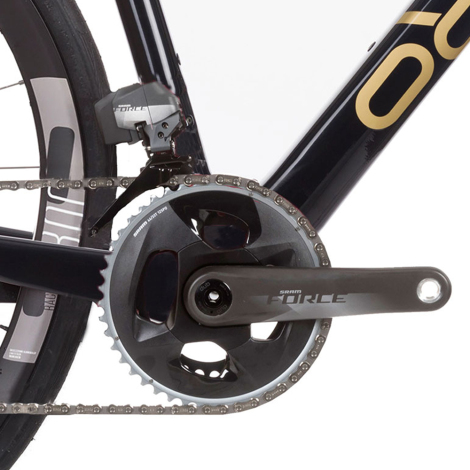
Drivetrain – Gears
Check that the front derailleur runs parallel to the chain rings and that it cannot be moved under load. Make sure that the cage of the rear derailleur sits parallel with the rear cassette and it is therefore not bent or out of alignment. Most drivetrain issues are a relatively straightforward fix for the home mechanic, here is a blog on adjusting a rear derailleur gear.
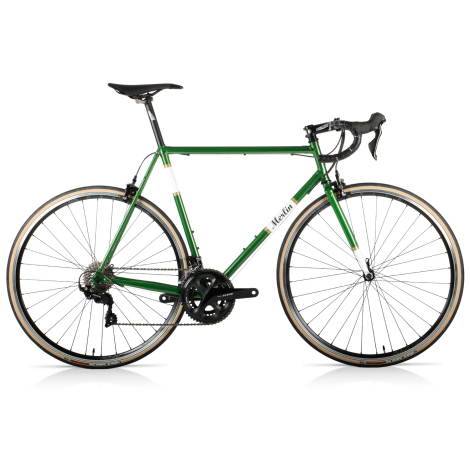
Frameset
Keep your frame in clean condition and give it a good check over now and again. Inspect the head tube, top tube, down tube, seat tube, chain stays, seat stays, and around the bottom bracket. Listen up while riding too – any odd creaking noises? Check for any dents, cracks or ripples in the paint work of your frame. Any issues found during a bike check on the frame are a major safety concern and therefore the bike should not be ridden, if in doubt get it professionally checked. Here’s a blog on investigating Bike Noises.
Saddle and post
Holding the bike by the saddle, try to twist the saddle to ensure the seat clamp is properly tightened. Apply vertical pressure to make sure that the bolts holding the saddle to the post are secure and tight. You should not feel any looseness.
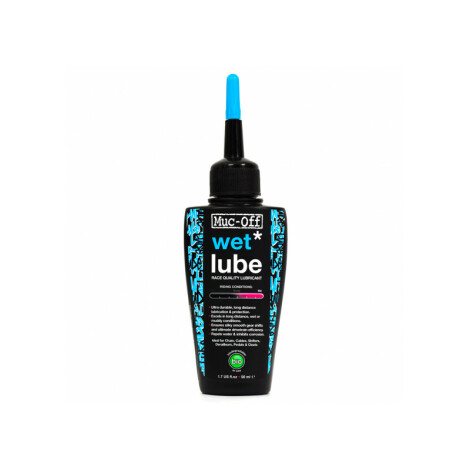
Get ur Lube’ On
Check that your chain and cassette are not either dry & squeaky or black & gunky. Fully de-greasing the cassette and chain and re applying lube will prolong the life of your cassette and chain as well as keep your drivetrain running smoothly.
Other things to check
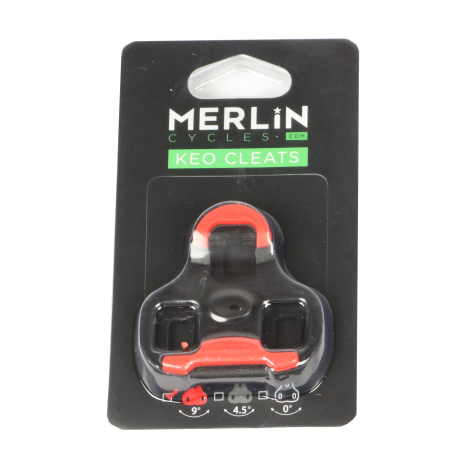
If you are using electronic components, get into a routine of charging your battery and making sure there are no nicks or kinks in cables running between the battery / levers / gears. Check bottle cage bolts are tight. Check cleats on shoes are tight and not too worn – excessive foot movement can indicate worn cleats and can lead to knee pain.
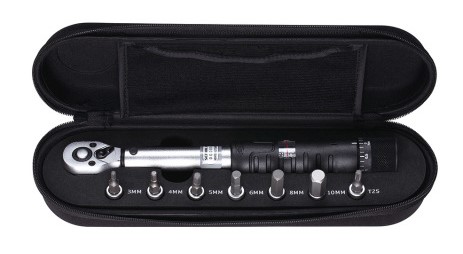
Torque is Cheap!
Another top tip during a bike check is to make sure bolts attaching components are tight. Many components now come with recommended torque settings printed on them or in the instructions. Using a torque wrench can ensure that bolts are tightened to their specified maximum torque amount. Torque wrenches can avoid the part becoming loose or potentially damaging the frame or other components. Torque wrenches are available here, from only £13 – they are a cost effective essential tool for the home mechanic.
With your bike all prepped and running sweetly, it is time to get out and enjoy riding. A short test ride should show up any issues. Taking a basic pack including a mini tool / pump / tube will allow you to fix minor issues on the road.
Other Ride Essentials
Shoes

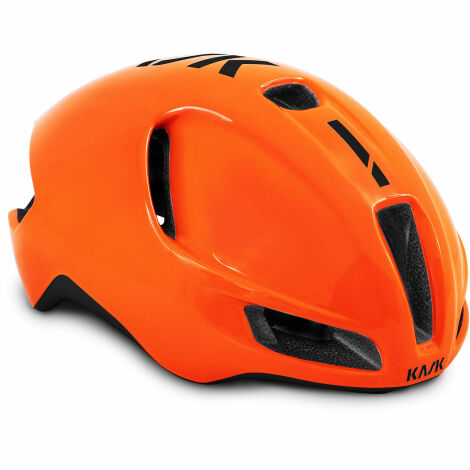
Helmets